Settings
window system and Linux system:
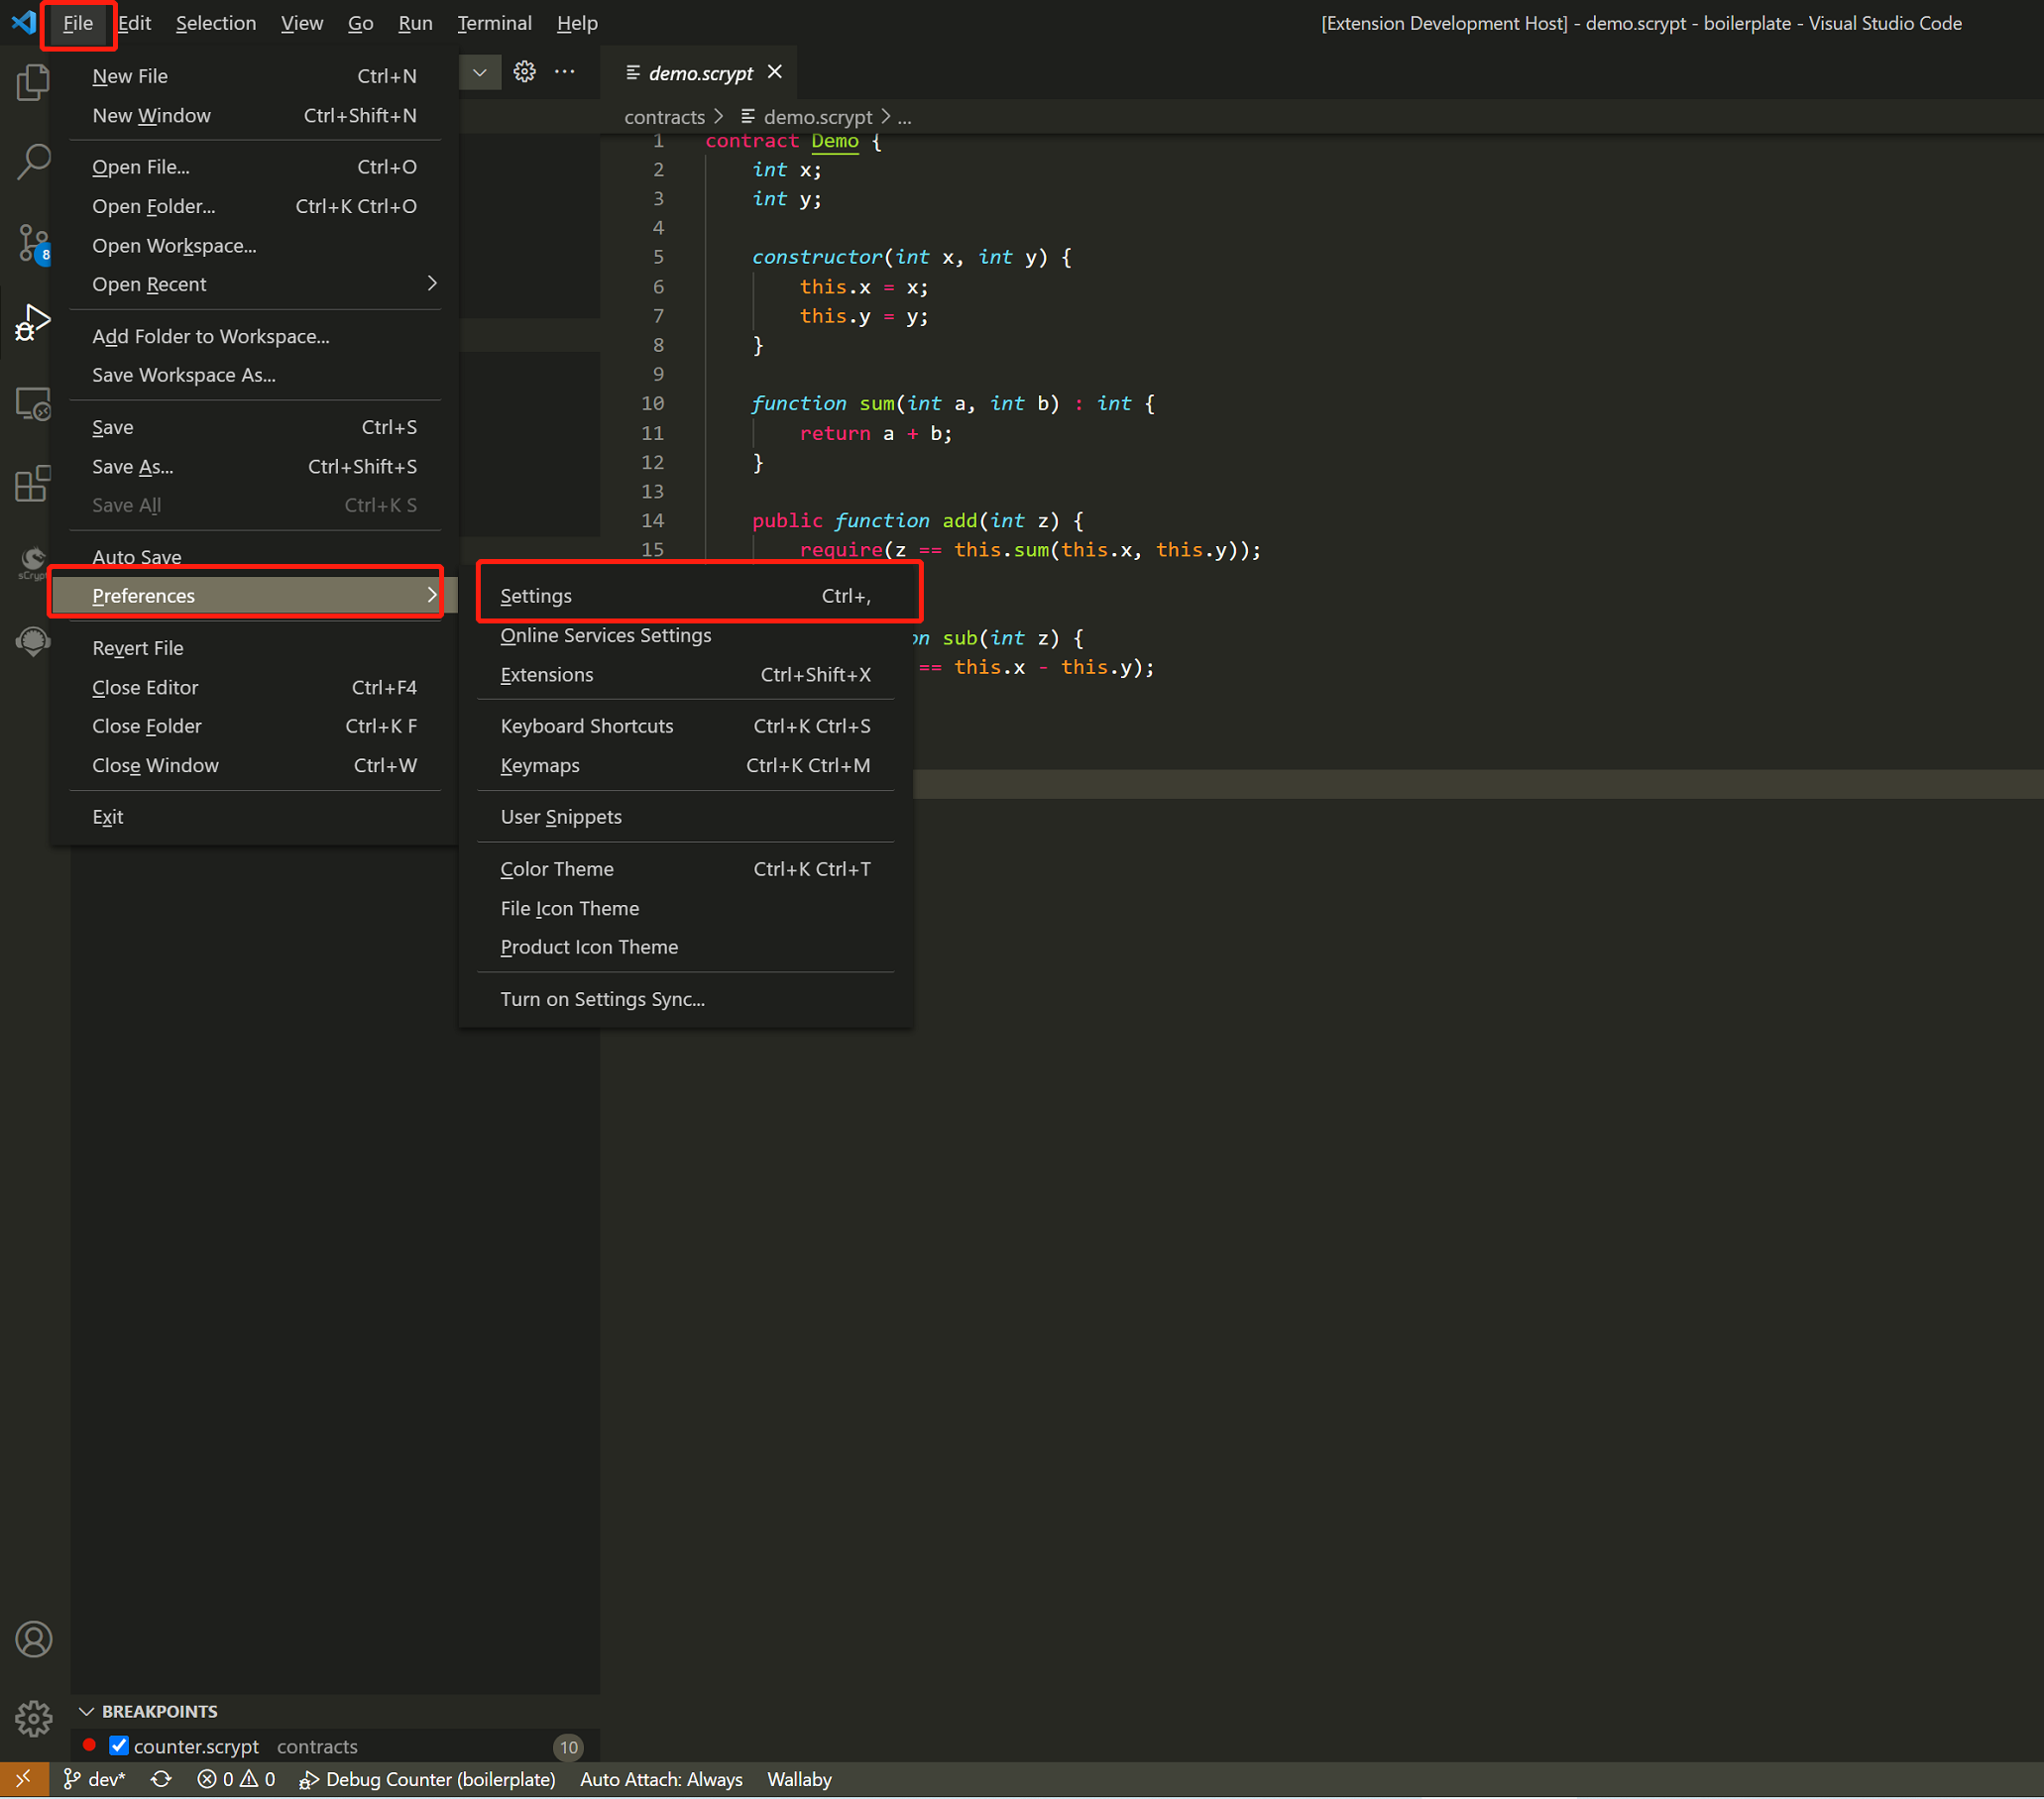
Open “File” -> “Preferences” -> “Settings” -> “Extensions” -> sCrypt in VS Code to view all the settings.
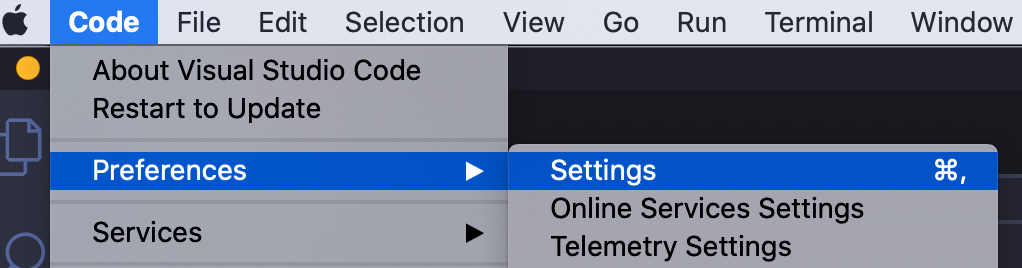
MacOS System:
Open “Code” -> “Preferences” -> “Settings” -> “Extensions” -> sCrypt in VS Code,
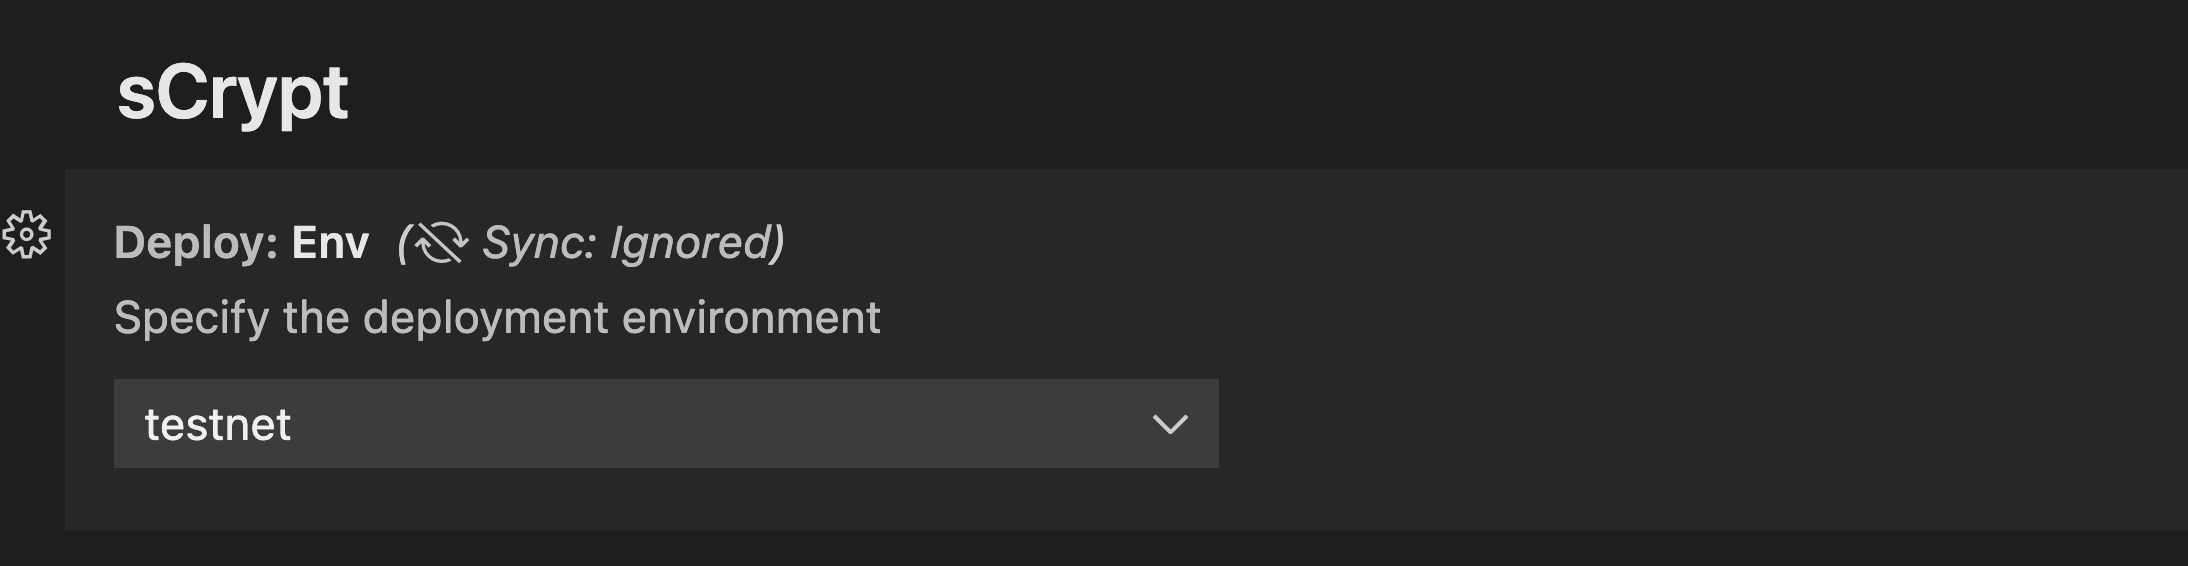
Deployment Environment
Specifies the deployment network of the contract.
Private Key
Testnet Private Key
Find Priv Key in the settings, and enter your testnet private key. Only after having the private key can the related functions of the deployment contract be used.

If you don’t set a private key, IDE will automatically set a randomly generated private key and get testnet petty bitcoins from faucet. You can also get bsv from by executing the sCrypt: Get BSV From Faucet command.
Mainnet Private Key
Find Priv Key Mainnet in the settings and enter your mainnet private key. IDE will automatically set a randomly generated mainnet private key. You can manually deposit a small amount of Bitcoin for deploying and invoking contracts on the mainnet.
Warning
Disclaimer: Do not deposit large amounts of Bitcoin. This feature is only used for testing in development. Security is not guaranteed.

Hint
We will never upload and collect your private key.
Status bar Deployment Environment
Displays the current deployment environment. Click to switch deployment environments.

Balance in Status Bar
After setting the private key, the BSV button in the lower right corner of the status bar will be automatically updated to display the bitcoin balance of the address corresponding to the private key. If the deployment environment is a testnet, the balance of the testnet private key is displayed. If the deployment environment is the mainnet, the balance of the mainnet private key is displayed.

Log Switch
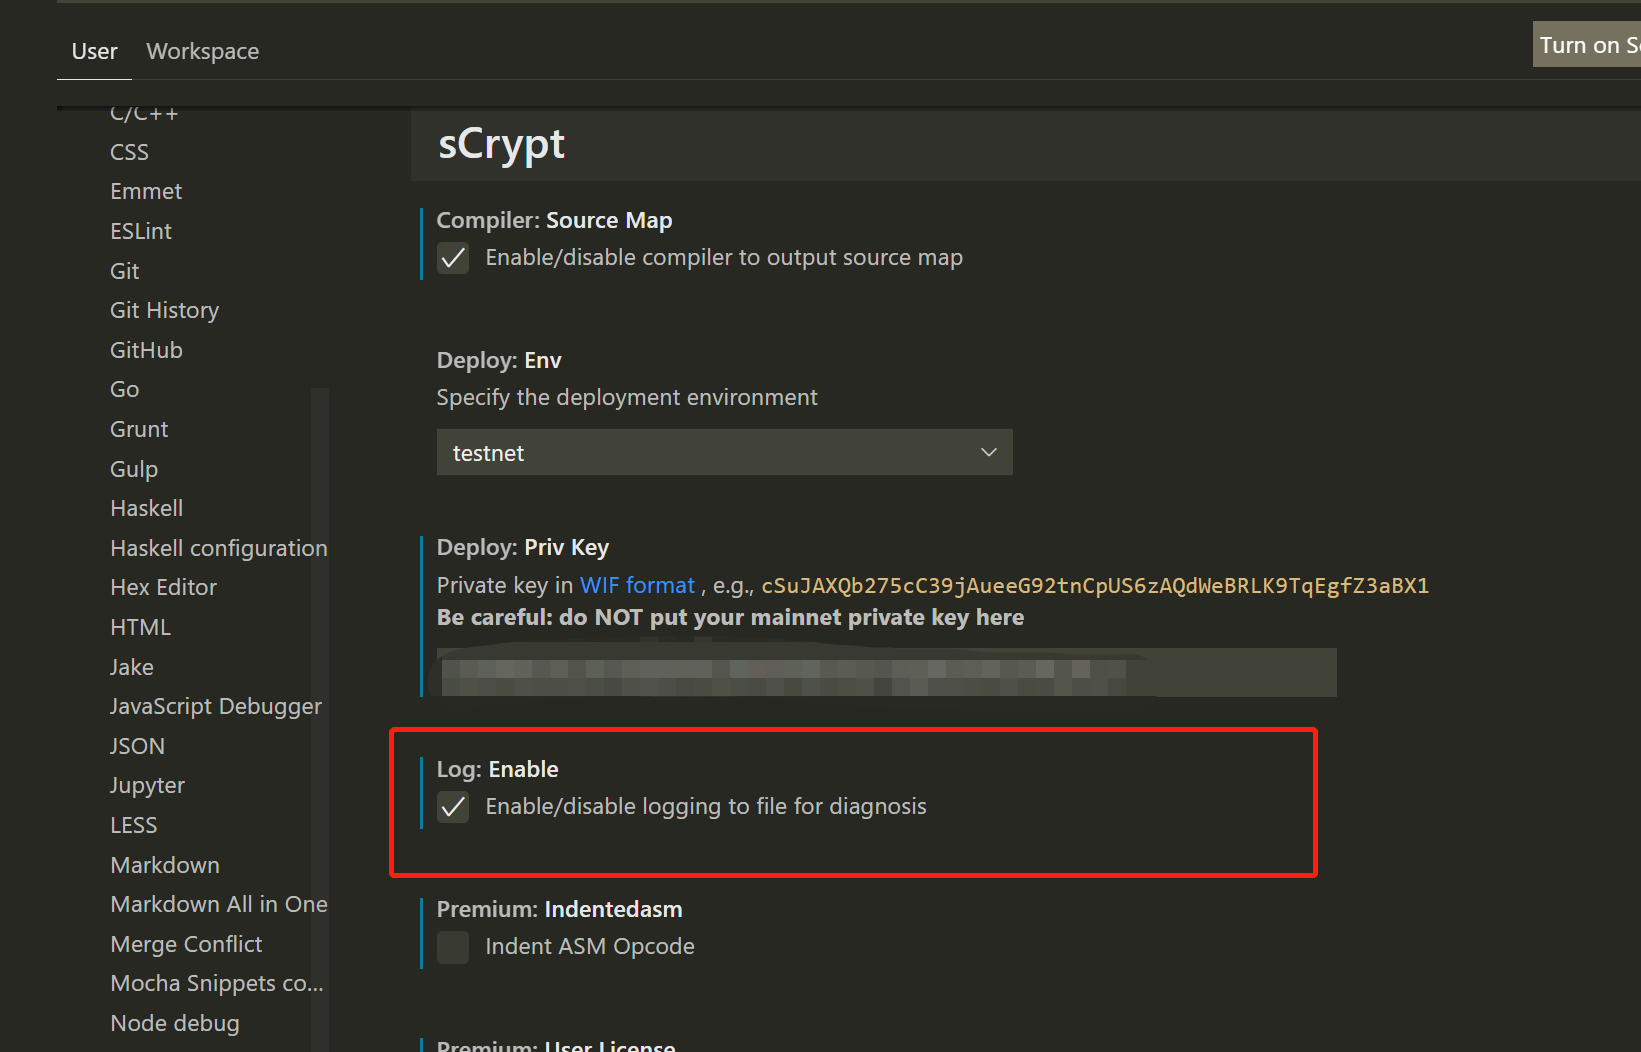
Find Log> Enable in the setting, after turning on the log switch, you will see more information in the output panel.
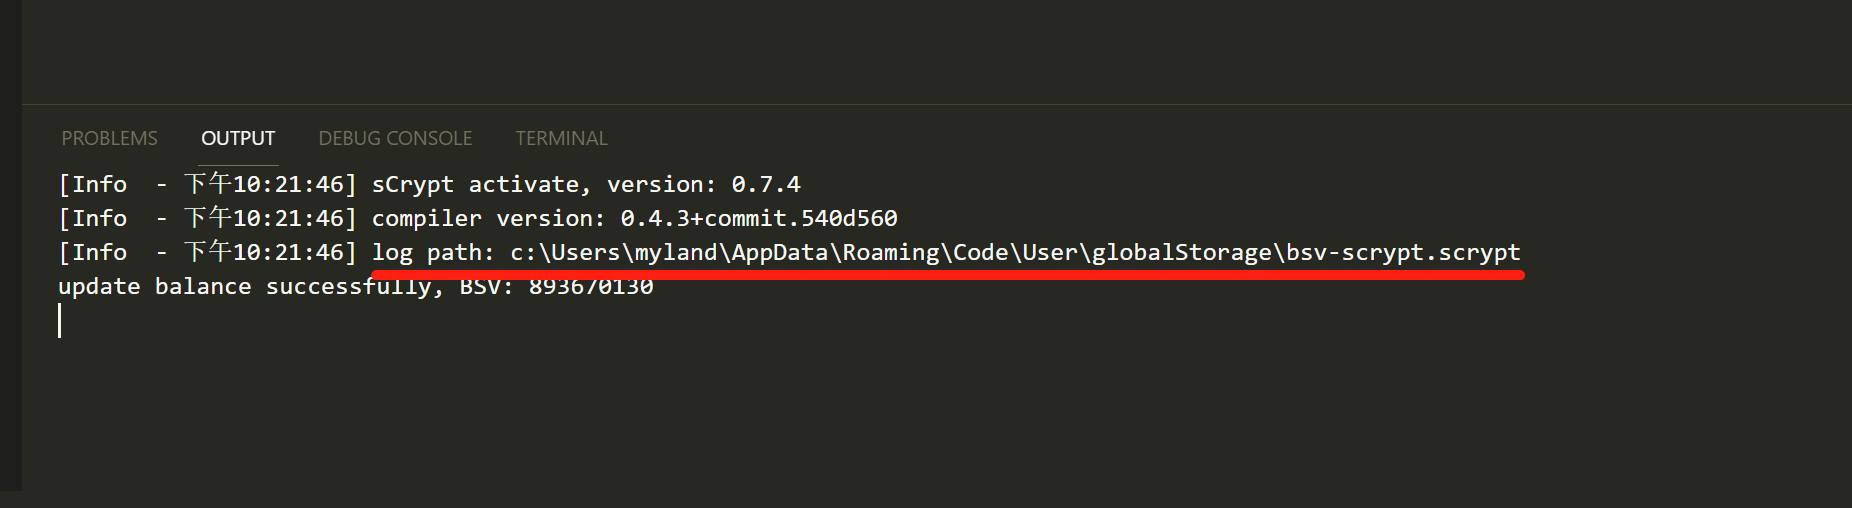
At the same time, IDE will output all the logs to a file and save it on the disk. When IDE is activated, you can see the directory where the log is saved in the output panel:
Note
By default, logging is turned off. When you encounter a problem, please turn on logging to help diagnose the problem.
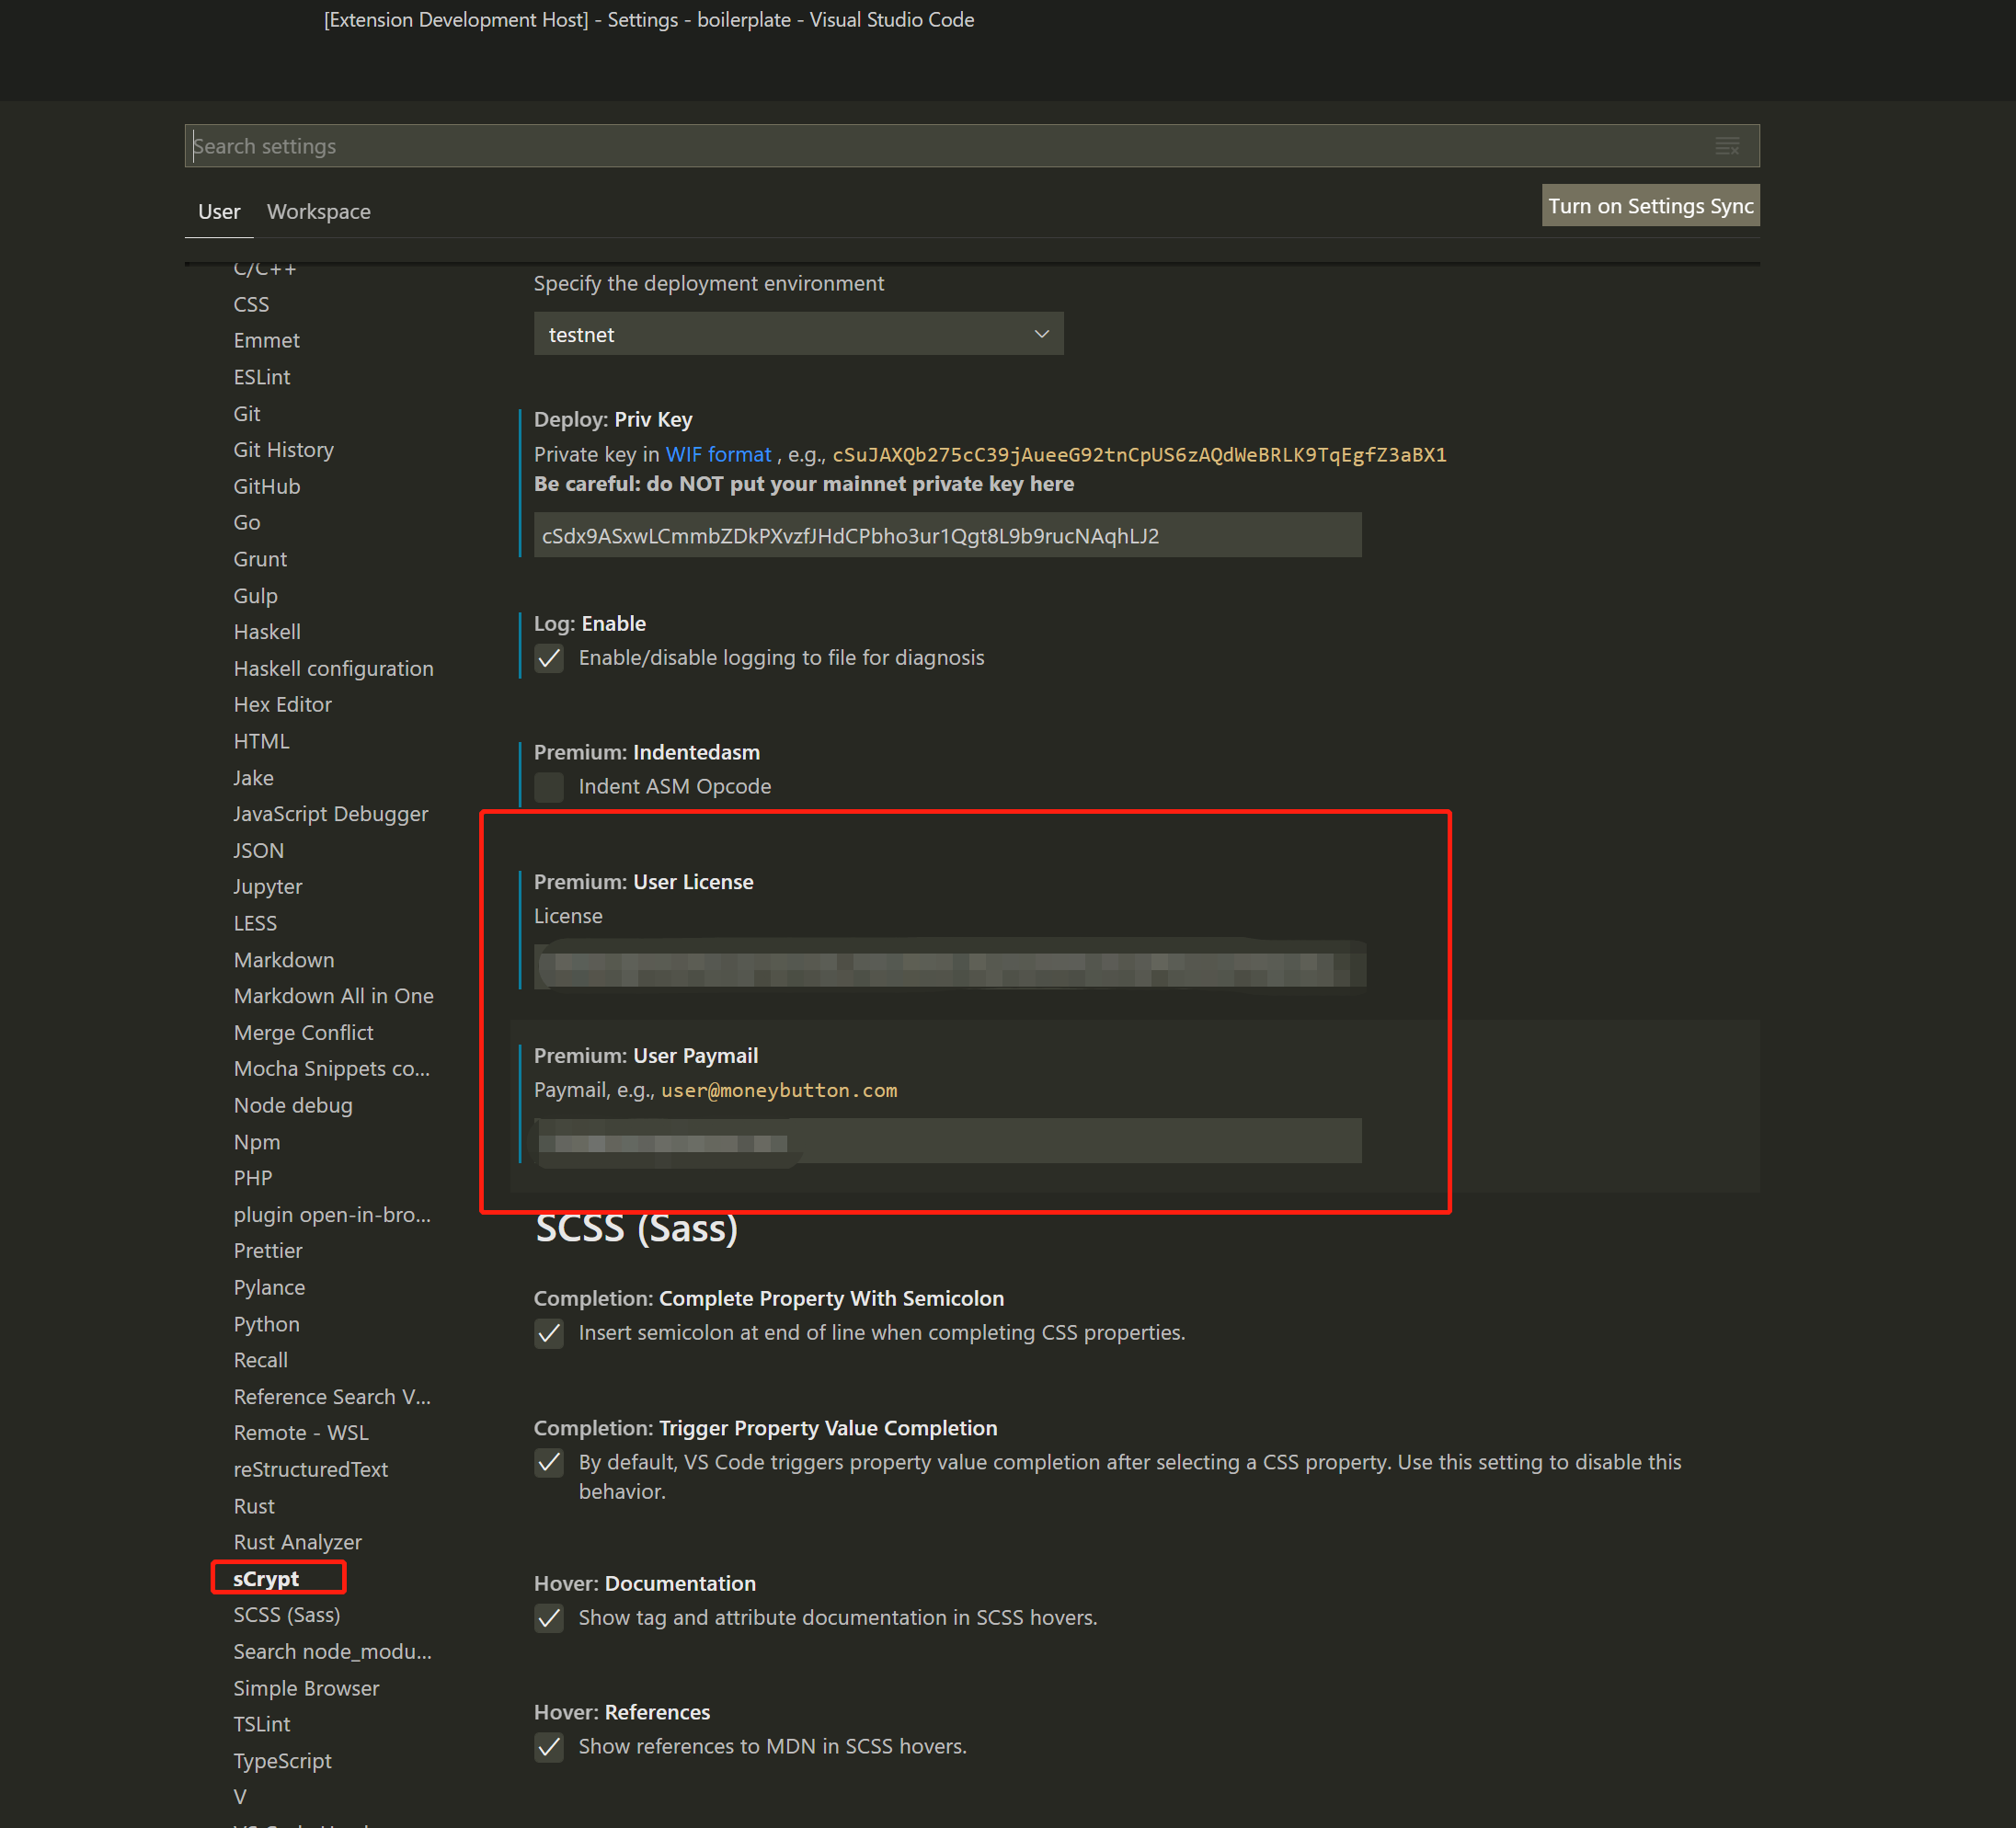
Premium Paid Features
Premium License
First, you need to purchase our Premium license. Find Premium: User License and Premium: User Paymail in the settings, configure the corresponding Paymail and License information, and you can start using all the advanced features.
Note
After the advanced license is verified, there will be a notification prompt in the lower right corner of the window
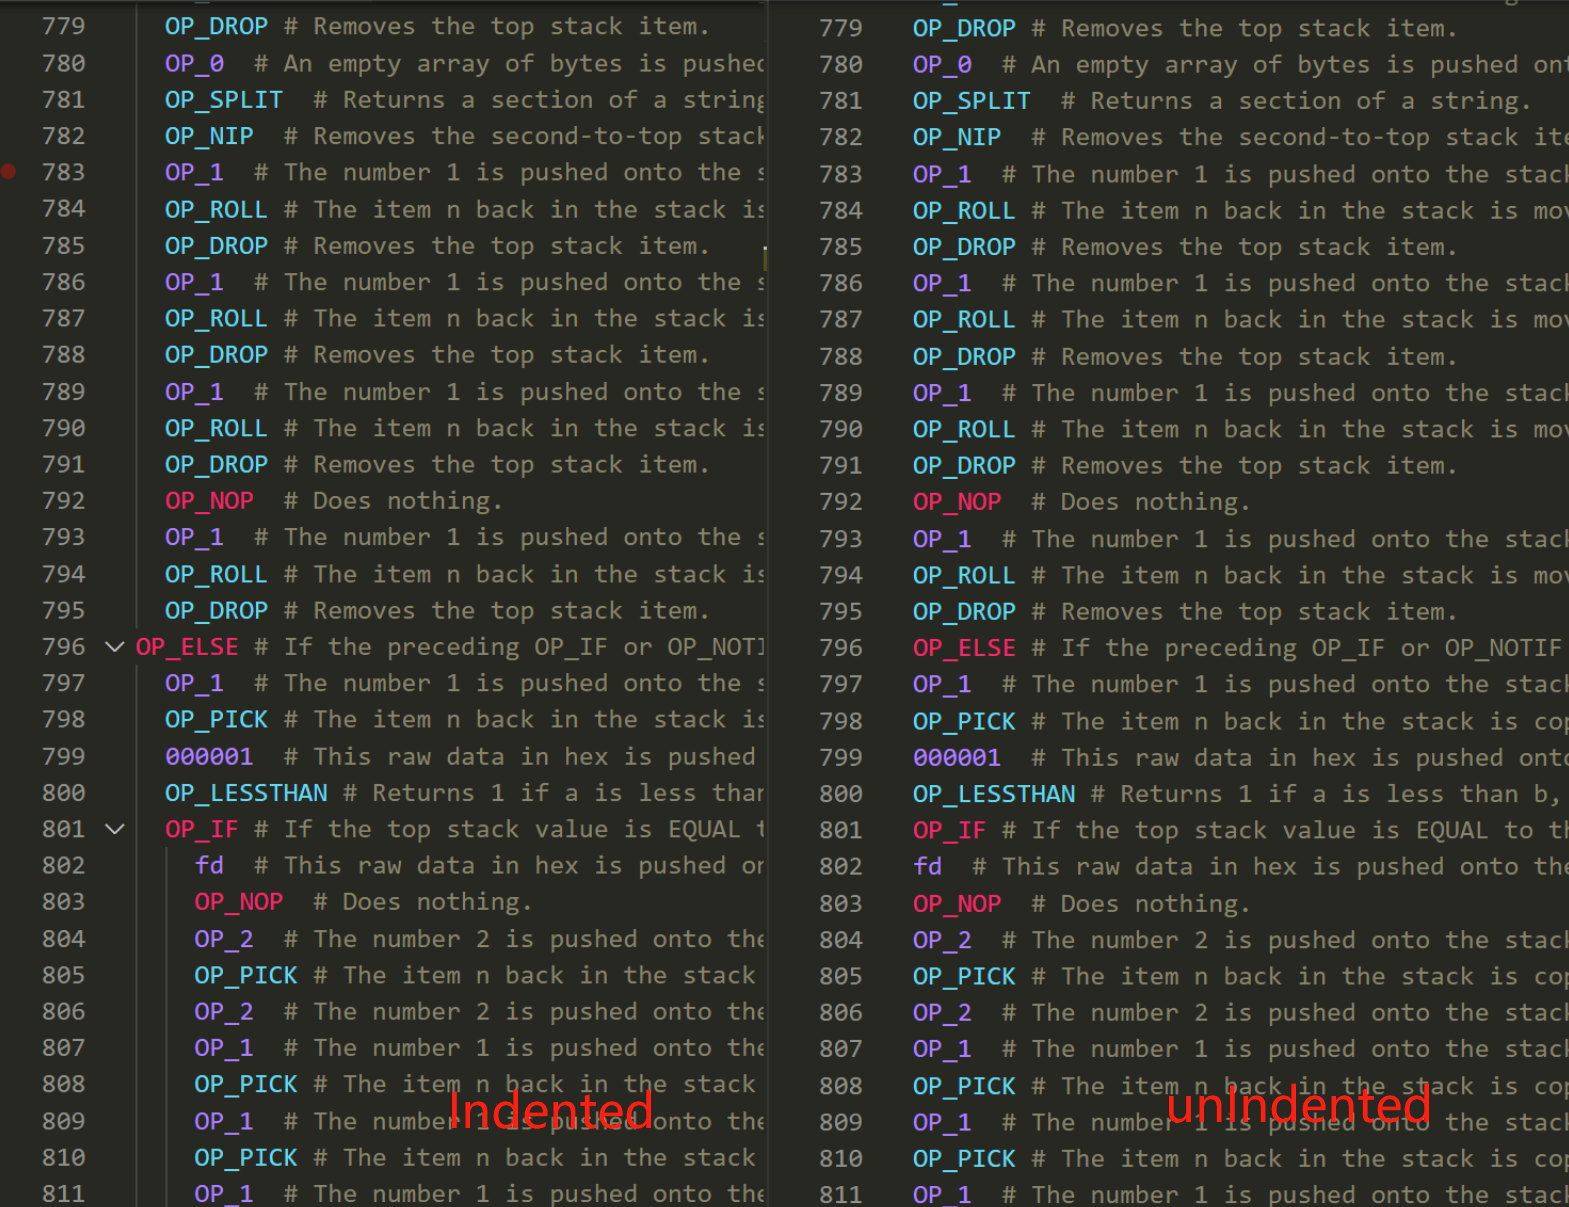
ASM Indention
Find Premium: Indentedasm in the settings. After enabling it, when using the script-level debugging function, the ASM opcode will be indented.